


In the digital age of photography, where software like Adobe Lightroom and Photoshop can manipulate colors, exposure, and contrast with a few clicks, a common question arises among enthusiasts and professionals alike: what do camera lens filters do, and are they still necessary?
While it is true that many effects can now be simulated digitally, lens filters remain a critical component of the photographic toolkit. They are not merely accessories; they are optical modifiers that alter the properties of light before it strikes the camera sensor.
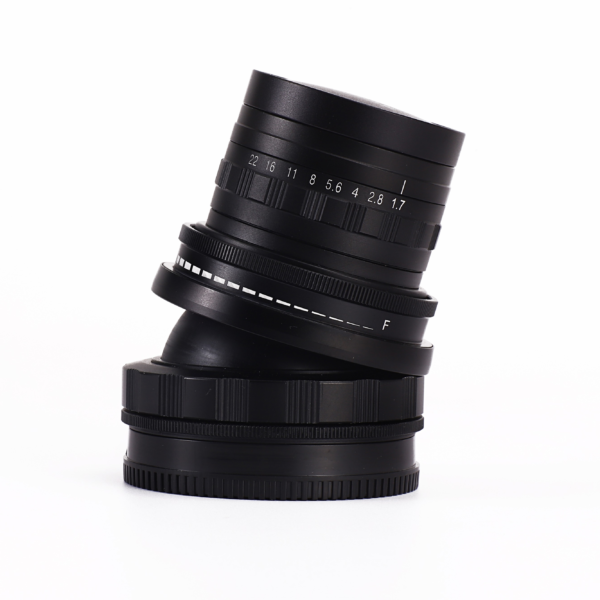
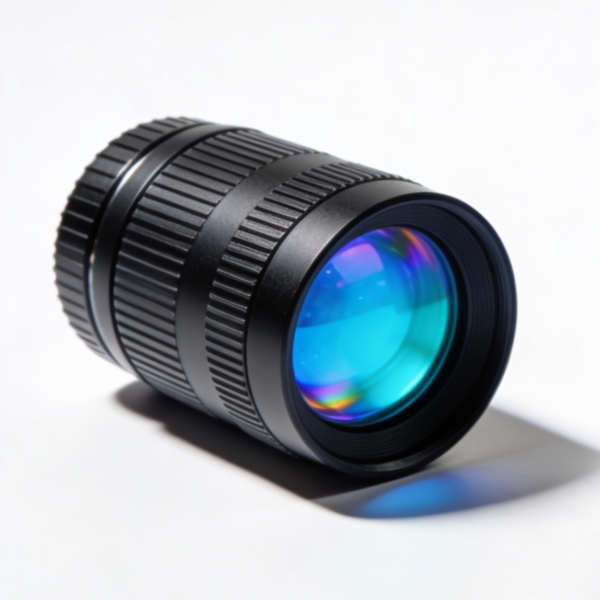
A camera lens filter is a piece of glass (or resin) placed in front of the lens element. Its primary function is to block, redirect, or modify specific wavelengths or intensities of light. Understanding what do camera lens filters do requires breaking down their functions into three primary categories: physical protection, light management, and optical correction that software cannot mimic.
This guide provides a technical and practical breakdown of the most essential filters, explaining the physics behind them and why they remain indispensable for high-quality imaging.
The Foundation: Protection vs. Image Quality
The most basic answer to what do camera lens filters do is “protection.” However, this is a subject of debate within the optical community.
High-end camera lenses feature complex, multi-layered coatings designed to maximize light transmission and minimize flare. The front element is exposed to the elements—dust, rain, salt spray, and accidental impact.
UV Filters (Ultraviolet) and Clear Filters
Historically, in the era of film photography, film stock was highly sensitive to ultraviolet light. High altitudes or coastal scenes often resulted in images with a hazy, blue cast. Photographers used UV filters to block these non-visible wavelengths to improve clarity.
Digital sensors, however, are inherently less sensitive to UV light, and modern digital cameras have UV-blocking filters built directly over the sensor stack. Therefore, on a modern digital camera, a UV filter does not significantly alter the image quality.
Instead, its role has shifted entirely to physical protection.
Sacrificial Layer: If a camera is dropped lens-first, the filter shatters instead of the $2,000 front element.
Environmental Shield: It seals the front of the lens against sticky pollen, salt water, and abrasive sand. It is much safer to clean a $50 filter than to scrub the coatings of a precision-engineered lens.
The trade-off is optical. Adding cheap glass in front of a lens can introduce “ghosting” (secondary reflections) and reduce contrast. Therefore, if using a filter for protection, high-transmission, multi-coated glass is essential to maintain the lens’s native resolving power.
Light Management: The Neutral Density (ND) Filter
If UV filters are the lens’s “safety goggles,” Neutral Density (ND) filters are its “sunglasses.”
To understand what do camera lens filters do in the context of exposure, one must look at the exposure triangle. Sometimes, there is simply too much light entering the camera to achieve the desired creative effect.
An ND filter blocks light across the entire visible spectrum equally (hence “neutral”). It does not alter the color of the light; it simply reduces the intensity. This reduction is measured in “stops.” A 3-stop ND filter, for example, allows only 1/8th of the ambient light to pass through.
Why Reduce Light?
There are two primary technical reasons to reduce light intake:
Long Exposure Photography:
In bright daylight, a camera’s shutter speed might be 1/1000th of a second. This freezes motion. To capture the silky, flowing look of a waterfall or the motion blur of clouds, the shutter must stay open for seconds or even minutes. Without an ND filter, a long exposure in daylight would result in a completely white, overexposed image. The ND filter restricts the light, allowing the shutter to remain open longer without overexposing the scene.Depth of Field Control:
Cinematographers and portrait photographers often desire a “shallow depth of field” (blurred background), which requires a wide aperture (e.g., f/1.4 or f/2.8). On a bright sunny day, opening the aperture this wide lets in too much light, even at the fastest shutter speed. An ND filter cuts the light down, allowing the use of wide apertures in bright conditions to achieve that cinematic background blur.
Variable ND vs. Fixed ND
Fixed ND: Reduces light by a specific amount (e.g., ND8, ND64, ND1000). These offer the highest optical quality.
Variable ND (VND): Consists of two polarizing layers that rotate against each other. By turning the ring, the user can adjust the density (e.g., from 2 stops to 8 stops). While convenient for video, they can suffer from the “X-pattern” cross-polarization artifact at maximum density.
Optical Correction: The Circular Polarizer (CPL)
When asking what do camera lens filters do that Photoshop absolutely cannot do, the answer is usually the Circular Polarizer (CPL). This is arguably the most powerful filter for landscape and product photography.
Light from the sun is unpolarized, meaning the light waves vibrate in all directions. When light hits a non-metallic surface—like water, glass, leaves, or even moisture in the sky—it bounces off and becomes “polarized,” vibrating in a specific plane. This reflected polarized light creates glare.
A CPL filter contains a microscopic grid that blocks light waves vibrating in a specific direction. By rotating the front element of the filter, the photographer can selectively block this polarized reflected light.
The CPL Effect
Removing Glare from Water: A CPL allows the camera to see through the surface of a lake or river to the rocks below, rather than seeing a white reflection of the sky.
Saturating Foliage: Leaves have a waxy coating that reflects the white sky, making forests look washed out. A CPL cuts this glare, restoring the deep, natural green of the vegetation.
Darkening Blue Skies: By blocking polarized light scattered by atmospheric particles, a CPL renders blue skies deeper and more dramatic, increasing the contrast against white clouds.
Crucially, this effect cannot be replicated in post-processing. Once the glare is recorded by the sensor, the detail underneath that glare is lost forever. Software cannot “see through” a white reflection that was baked into the raw file.
Creative Diffusion: Mist and Special Effects
While the industry pursues sharpness, a counter-movement involves “softening” the image.
Mist or Pro-Mist Filters:
These filters contain tiny specs of black or white particulate within the glass. What do camera lens filters do in this category? They diffract light sources. When a bright light (like a streetlamp or the sun) hits the filter, it creates a soft “haloing” or “blooming” effect. This reduces the digital sharpness that some filmmakers find “clinical,” giving the image a more organic, film-like atmosphere. They also slightly lower contrast, helping to smooth out skin tones in portraiture.
The Digital Dilemma: Filters vs. Software
A common skepticism involves the necessity of physical glass in the era of computational photography. Why buy a graduated neutral density (GND) filter to darken a bright sky when one can simply apply a gradient mask in Lightroom?
The answer lies in Dynamic Range.
A camera sensor has a limit to how much information it can capture in the highlights and shadows simultaneously.
GND Filters: These are dark at the top and clear at the bottom. By physically darkening the bright sky before the light hits the sensor, the filter helps fit the scene’s dynamic range within the camera’s capabilities. While modern sensors have incredible dynamic range, a GND filter ensures that the sky isn’t “clipped” (blown out to pure white) in extreme conditions.
However, for color correction (warming or cooling filters), digital processing has largely replaced physical filters. In the past, photographers used blue filters (80A) to shoot daylight film indoors under tungsten light. Today, this is handled by the White Balance setting in the camera or raw processing software.
Technical Considerations: Thread Size and Quality
When selecting a filter, understanding the physical specifications is as important as understanding the optical function.
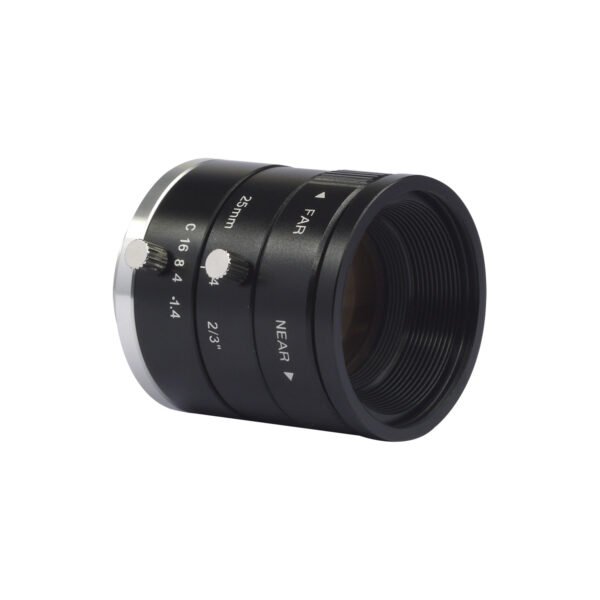
Filter Thread Size:
Lenses come with different diameters. A filter must match the thread size of the lens (measured in millimeters, e.g., 67mm, 77mm, 82mm). This is usually marked on the front of the lens or the lens barrel with a “ø” symbol.
Pro Tip: Instead of buying a CPL for every lens, photographers often buy one large filter (e.g., 82mm) and use “step-up rings” to adapt it to smaller lenses. This is a cost-effective strategy.
Glass and Coating Quality:
Placing a low-quality sheet of glass in front of a high-end lens is counterproductive. Cheap filters often use standard window glass with poor transmission rates, leading to:
Color Casts: A purple or green tint on the image.
Flare: Unwanted circles of light when shooting near the sun.
Sharpness Loss: Softening of fine details.
High-quality filters utilize Schott optical glass (or equivalent) and possess nano-coatings that repel water and oil, making them easier to clean—a vital feature for outdoor photography.
Conclusion: The Indispensable Tools
So, what do camera lens filters do? They act as the gatekeepers of light. They provide the first line of defense against physical damage, manage the intensity of light to control time and depth, and manipulate the physics of reflection to reveal colors and details that the naked eye might miss.
While digital editing has replaced the need for color-correction filters, the “Big Three”—UV (protection), CPL (polarization), and ND (exposure control)—remain fundamental tools. They solve optical problems at the source. For any photographer aiming to master their craft, understanding and utilizing these optical modifiers is not optional; it is a prerequisite for controlling the photographic image completely.
FAQ: Common Questions About Lens Filters
Q: Do I really need a UV filter for a digital camera?
A: Strictly speaking, for image quality, no. Digital sensors are not sensitive to UV light in the way film was. However, for protection, they are highly recommended. A high-quality clear protection filter creates a barrier against sand, water, and impact without affecting image quality.
Q: Can I leave a Polarizing (CPL) filter on all the time?
A: It is not recommended. CPL filters reduce the amount of light entering the lens by about 1.5 to 2 stops. This can force the camera to use a slower shutter speed or higher ISO, which might cause blur or noise in low-light situations. Additionally, the polarizing effect can look uneven on ultra-wide-angle lenses.
Q: What is the difference between an ND filter and a GND filter?
A: An ND (Neutral Density) filter darkens the entire image evenly. It is used to extend shutter speed or widen aperture. A GND (Graduated Neutral Density) filter is dark at the top and transitions to clear at the bottom. It is specifically used to darken a bright sky while keeping the foreground properly exposed.
Q: Will stacking multiple filters affect image quality?
A: Yes. “Stacking” filters (e.g., screwing an ND filter on top of a UV filter) introduces more layers of glass for light to pass through. This increases the likelihood of vignetting (dark corners), chromatic aberration, and lens flare. It is best practice to use only one filter at a time whenever possible.